Irrespective of whether you are a professional roofer or just a curious homeowner, this tile roof installation guide will enlighten you on the basic steps that are part of installing a new roof. This a professionally approved blueprint which details the roof install/replacement process in full (in simple terms).

How Are Roof Tiles Installed?
There are a number of things you need to do before getting started to guarantee roof tiling success, like picking the right time and protecting yourself from possible hazards during the installation process.
Picking The Right Tiles
The first thing you’ll do when planning your roofing project is to pick the right roofing tiles for you. There are many different options out there, and typically you’ll have a choice between clay and concrete tiles. There will be several things that will impact the decision that you make.
For example, clay tiles are known to be more durable than concrete tiles. A concrete tile can last anywhere from 30 – 50 years, while a well made clay tile can last up to 100 years. Also, price is a factor. As you’d expect, clay will be more expensive than concrete, so if you’re trying to save money going for concrete may be the best option. You’ll also want to think about the color of the tiles. Typically, concrete tiles will fade over time, so that’s something to think about as this roof should last for a good few decades.
Understand The Different Types of Roof Tiles
There are quite a few different roof tile styles to choose from and each comes with pros and cons. Before picking one, find out which types of roofing materials are best suited to your environment and how much weight your roof can handle.
Here are just some of the most popular roof tile options.
- Clay Tiles: This option is extremely long-lasting. Its average lifespan ranges from 30 to 50 years but it can last up to 100 years with proper care and regular maintenance. However, clay is heavier than other tile materials which may be an issue if your home wasn’t built to handle the extra weight. Not sure if your home is built for clay roof tiles?
- Concrete Tiles: While not always the most aesthetically appealing option, concrete roof tiles are low-cost, low-maintenance and long-lasting. However, their color can fade over time, so they may not be the best option if you live in a rainy climate.
- Metal Tiles: A couple pros and cons of metal roofs are that they’re lightweight, yet can be designed to mimic the look of other roofing materials, like clay tiles. The downside is that they aren’t as long lasting, are easier to damage, and they don’t offer much insulation.
- Solar Tiles: This type of roof tile not only protects your home from the elements, but also harnesses sunlight to provide power. They’re much more expensive than typical roof tiles and they need to be professionally installed to ensure they function as they should.
- Composite Tiles: This type of roof tile is one that’s made from both synthetic and natural materials and can be designed to mimic the look of other materials. They’re more lightweight than clay and concrete tiles, but also less durable.
Weight Considerations
Weight is going to be an important factor when installing a tiled roof. Asphalt shingles are very popular as they’re inexpensive, as well as being very light. If that’s what your roof has now, then your roof may not be able to take the added weight as it’s designed now.
To check this, you’ll need a roofing expert to come and take a look at your roof for you. When they do this, they’ll be able to see how much weight the roof can take, and advise you on what can be done to adapt it for clay or shingle tiles. It’s worth noting that clay tiles are usually heavier than concrete tiles. If weight is an issue, then concrete tiles will be the way to go.
Safety Precautions
Installing roofing is dangerous for both pros and non-pros alike. Protect yourself from any slips by investing in or renting a fall kit with a harness, hook, and rope and wear a helmet at all times to keep your head safe from any falling tiles or equipment. Also plan on doing the work when the weather will be clear and mild—and there’s no risk of rain making everything wet and slippery or high temps making you overheat.
Plan for the Right Time
Check the weather report. You’ll need to install roof tiles in the right conditions, which could mean waiting for the weather to clear. Ideally, the conditions should be between 40 and 85 degrees Fahrenheit with low wind speeds, mild humidity, and no rain. If it has recently rained, you may need to wait 24 hours for all the parts of your roof to dry.

Roof Preparation
Now that your roofers are ready to start, they’ll begin by preparing the roof ready to be replaced. They’ll remove any old roofing if needed. This will need to be removed if the new roofing is to be placed on top of it. Then, they’ll carry out any repairs that need to be done. That ensures that there’s a good structure for the new roof to go on top of.
This part of the process can take several days, depending on how much needs to be removed, and how many repairs need to be done. At this point, the roofer may also reinforce the roof to take the added weight of tiles.
Before you can lay down new roof tiles, you have to remove what’s already there. Removing an old roof is a job unto itself that will take additional materials, tools, and time.
To start, you’ll need to get rid of the roofing materials that are already there with a roofing shovel. This task requires a lot of physical labor, so prepare to sweat. From there, you need to make any necessary repairs to ensure the structure is secure enough for a new installation. Fix any beams that are noticeably damaged or have signs of water damage. Even if you’re going the DIY route, hiring a roof contractor for this task alone is worth it because they may be able to spot future or current problems that you may have overlooked.
Installing Underlayment
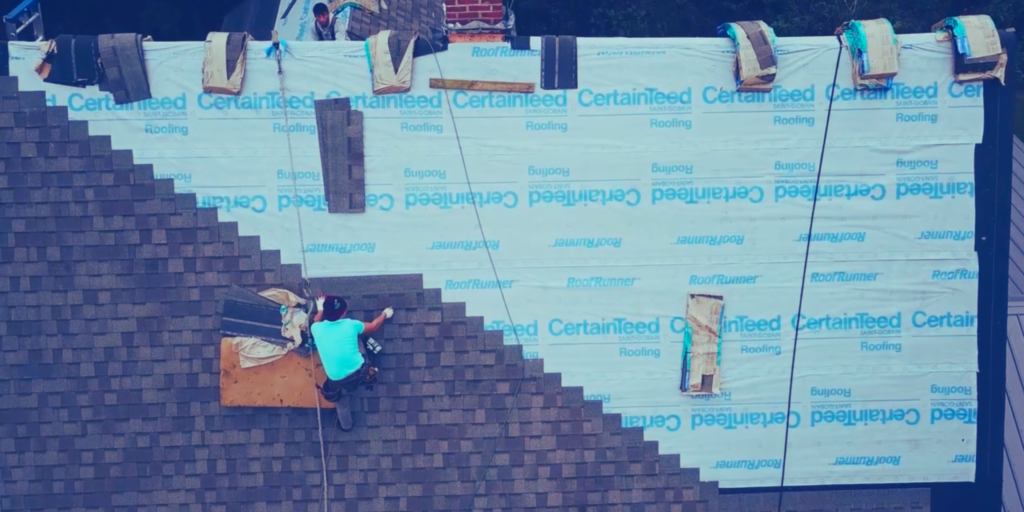
Now your roof is prepared, the roofer will start the installation process. The first step is to install the underlayment. This is what creates the first barrier between your roof and the elements. Once the roof is fully installed, you’ll find that it’ll be the last line of defense if your tiles were to fail.
The underlayment is installed by being rolled out first at one side of the roof, along the lower edge of it. This is secured into place and then repeated until the whole roof is covered. Sections of underlayment will be overlapped to create a seal against water.
Make sure your roof rafters are cleaned and cleared of anything that could create issues, like stray nails and large splinters. Then, starting at the base of your roof and working from left to right horizontally, apply the underlay from one side of the roof to the opposite side. Attach with nails on one end and pull the underlay from the opposite end to flatten along all the rafters. You want it to lay mostly flat but not be pulled too tight. Doing this creates divots within each rafter that allow any water that does manage to leak through the tiles to be drawn down and into the gutters. If the membranes are too tight, moisture is more likely to pool, get stuck, and eventually cause damage to your roof.
Secure the underlay in place with nails on the opposite side and on every other rafter. Then, repeat this step working upwards until the whole roof is covered.
Install the Drip Edge
A drip edge is a type of metal flashing that’s installed at the edge of a roof to direct water flow away from tiles and preserve them for longer. To install it, start by marking the drip edge where it will need to be cut or bent and use tin snips to make the adjustments. Attach to your roof with roofing nails and slightly overlap each section as you work. Repeat until the entire edge is covered.

Install Flashing
Flashing generally needs to be installed on roofs wherever there are openings, angles, or anywhere water could seep through. Vent flashing is placed around things like chimneys, vents, and any sharp angles. Valley flashing is designed to protect any valleys on the roof, which are areas that are the most susceptible to water damage. Any spots where your roof meets a wall will also need step and dormer flashing. Once they’re installed, they also need to be sealed with caulk or another, waterproof sealant to provide the most protection.
Lay Battens and Determine Spacing
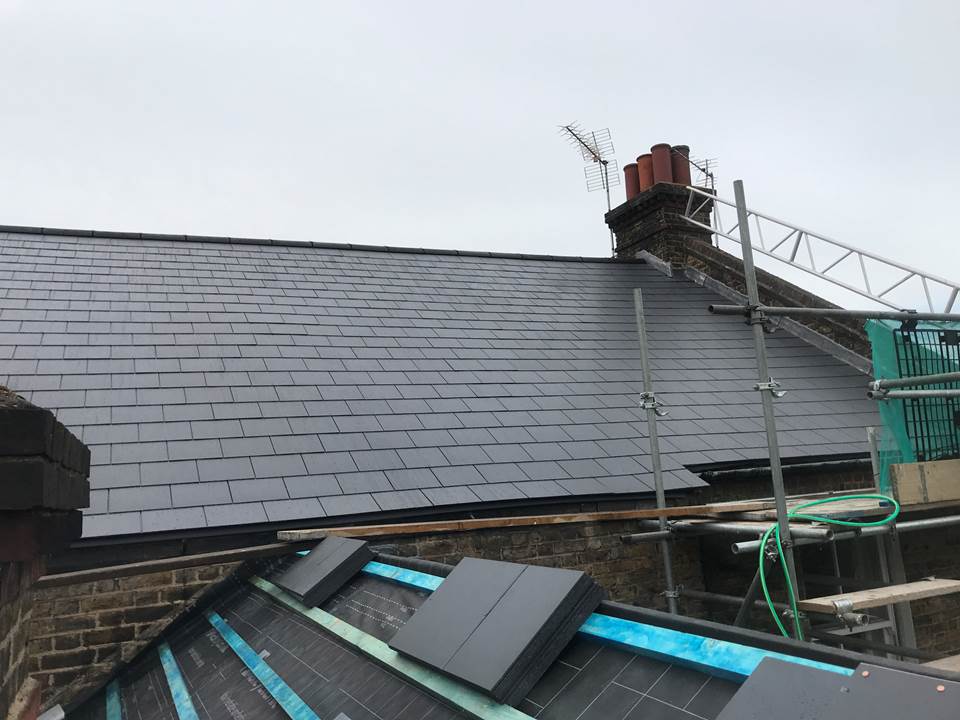
This may not need to be done on all roofs, but your roofer will let you know if you need them. These are thin strips of wood that are installed if the roof has a steep slope. They’re designed to hold roof tiles in place. They’re installed at intervals along the roof. Once they’re in place, you can install tiles that have lips or hooks. These are designed to hang on the battens and stay in place.
From the bottom, lay battens horizontally across rafters without nailing them down (so that they can be moved freely) From there, you’re going to use two tiles to determine exactly how far apart battens need to be placed. The top tile should hook onto the top batten, and the bottom tile should hang just slightly over the edge of the roof to properly direct water into the gutter. The tiles also need to overlap each other by 3 inches minimum. Adjust the battens as necessary to fit these requirements, then secure into place with roof nails. Measure the distance between battens and install the rest to your roof before proceeding.
Use a Circular Saw to Trim Tiles as Necessary
For tight or oddly shaped corners or areas, use a circular saw while wearing gloves and goggles to shave your tiles until they fit accordingly. It’s best to do this before nailing down a tile so that it’s easier to move and remove as necessary.

Tile Roof Installation (Before Nailing)
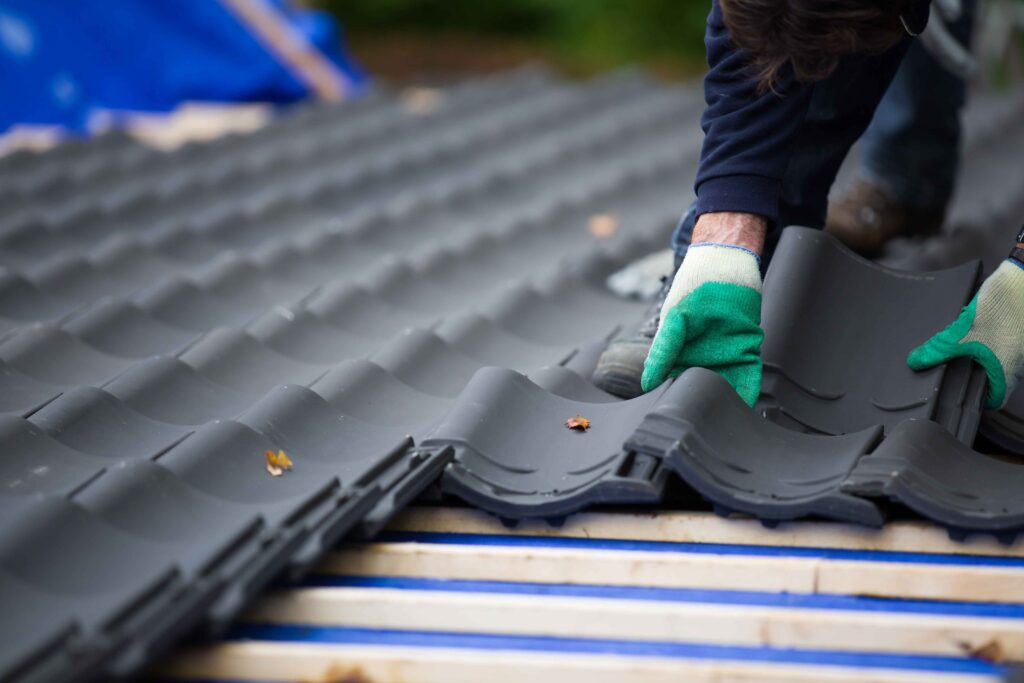
Now, roof tiles are ready to be fully installed. If you didn’t need battens on your roof, then you’ll see that they nail the tiles directly into the roof itself. If there are battens, the tiles will be nailed into those. Some tiles are designed to interlock, and in these cases, they may not all need to be nailed into place.
To install the tiles, start at one side of the roof at the top of the ridge (and work way down). If any tiles need to fit around tight spots (such as the chimney) then cut them to fit. Tiles that sit at the end of a tow may need to be cut too.
Once all the tiles have been installed, the ridge tiles will need to be installed. These are what sit at the top of the roof and cap it off.
Cap the Ridge
Finally, attach ridge tiles working one section at a time to the cap of your roof. Place them before nailing them to ensure they’re in the right spot before you make things permanent. Place nails along the center of the tile and hammer down to secure.
Taking Care Of A Tiled Roof
Once the roof has been installed, you’ll need to take special care of it to ensure it lasts for its entire lifespan. A roof projected to last 80 years can easily degrade in half of that time because of neglect or poor roof management. Doing regular visual checks for anything that’s out of place is important. Broken tiles are common because of storm damage and gradual degradation. Avoid water damage to your tiles by keeping your roof and gutters call free of moss and other debris.

Request a Tile Roof Installation Guide Quote
Installing a roof is both complicated and dangerous. This tile roof installation blueprint is primarily form information purposes. If you want or need a new roof now or in the future, fill out the form below to request a quote. We will assign one of our member roofers to book a free inspection at your property. We can provide you with rough costs and approximate prices ranges for a roof replacement. However, an accurate quote with precise pricing can only be given after an in-person assessment.
As well as roof replacement, we also provide a moss removal roof cleaning service. We also specialise in roofing services such as general maintenance and repairs, and a conservatory roof cleaning service. Our tile roof installation guide is meant to be for informative purposes only. A professional roofer with adequate skills, experience and insrance is the safest way to have a new roof installed.


